Wednesday, June 28, 2017

In the end, it's all about the people

It struck me that what might be the largest difference between the AKI and the UT, is not the environment, the tools, the ideas, or even the building, but it is the people. How could it be anything else, I realized, that makes the difference so great. People are what gives a location an atmosphere, what gives a place a hart. 

The people at the AKI are open-minded, curious, strange even. They do not fret to be different, one might even say that they are afraid not to stand out. They are creative, push themselves to new projects and activities. I respect how they can continue to be creative -after one day at the AKI, I am creatively satisfied for a week-, and how they are capable of pushing the limits of materials and techniques, finding a way to tailor it to their needs, and how they can trigger ideas without using any words, just by using a combination of (predominantly) visual triggers. 
The people at the UT are structured, thought-through, and calm. They want to follow their interest, sometimes even passion, in a specific field. They hope to bring the knowledge of the world one step further by adding their structure and research. This way they contribute a -what to others can seem minuscule or irrelevant- bit of knowledge in a very specific field of knowledge, slowly digging up all that there is to know about the world. Slowly improving our life and health in the process. 
Both want to change the world, but in very different ways. where one aims to open ones eyes to the world, or merely contribute to the aesthetics, the other has the goal to improve the world by revealing new knowledge. 

Being at the AKI once a week was as a refreshing dive into a different world view. Where different ideas and ideals hold. I was surprised by the openness and curiosity of the people. I have been asked many times what I was doing, who I was, why I did what I did. This slowly gave me the confidence to talk about my work, my ideas, and eventually, about myself. By making something that people show interest in, you yourself also feel more interesting as a person. You are the person that triggered curiosity through your work. 
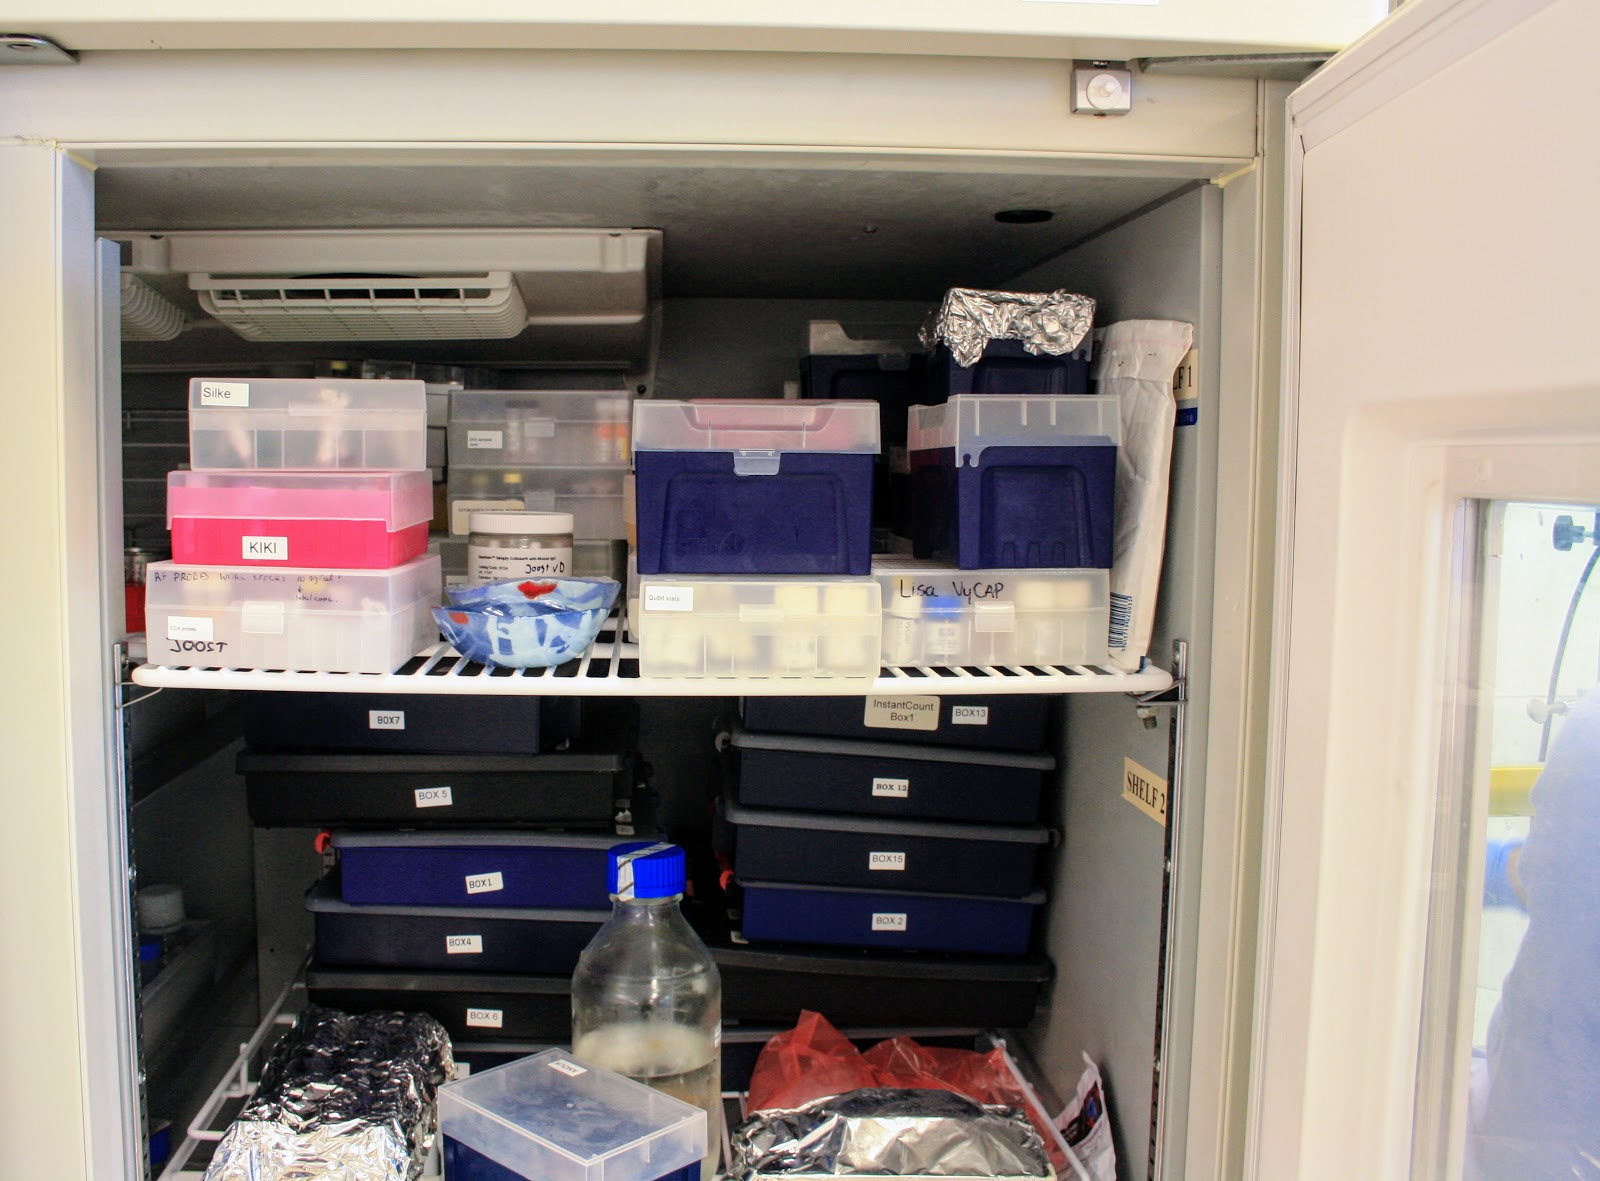
It was a disappointing realization. When I was in the lab that I worked, the birthplace of my work,  to take pictures of what I made, I noticed how little people were interested in what I had in my four cardboard boxes. I was ignored. This shocked me. Had I romanticized the curiosity of people? had I become too arrogant? Too assured of the attraction of my work? As I started taking pictures around the lab, I got some strange looks, and slowly questions started to come. But after a one-minute pitch of what it was that I was doing, interest declined and my conversation partner would return to his/her work. I think this was because what I did, did not contribute to what they thought was important in life. Why would you make art, when you can improve the world through knowledge? They might have a point, but I think this view gives art too little credit in its ability to change the world. 

Both types of people have their own advantages, giving me two different ways to regard the world. I am in the unique opportunity to cherry pick from both. I can look at the world with bright, curious, yet structured eyes. I know how to express myself as an artist(-ish) -I noted I even started to dress differently over the past half year-, but also I can fit in, in the world of structure and research. In the end I am partially both, I am both people, and in my head both have a voice that narrates my life. I try to listen, hoping neither will fall silent. 


Sunday, June 25, 2017

Lab work III

And lastly, I wanted to show the cells in a way that only I could show them, by putting them under the microscope. In the following pictures you can see a spot where transparent glazing and red glazing meet.

PE lazer

Normal light

Dapi -- Used for nucleus detection (blue)

PE -- Used for fluorescence staining (yellow)


PE -- Used for fluorescence staining (yellow)

Craquelure glazing with normal light


Lab work II

Secondly, I wanted to focus on the connection in detail, focusing on the misfit, instead of the fit.


Lab work I

As a way to finish this search, I photographed my work in the research lab that served as my inspiration. I got a little enthusiastic, but hope that you will enjoy all the pictures. 
In this first series, I tried to incorporate my work in the normal environment. I tried not to make it stand out, but rather fit in, into the world in which it belongs. 


Friday, June 16, 2017

Evolution


On bad omens and an onion-shaped vase

The plan was to work with 'opglazuur' this week, which is technique where you print an image on a special paper using a silkscreen press, and then stick this image onto something that has already been glazed. Once it is baked, the print will merge with the glaze of the object, and stick to it. For this purpose I had bought some plates and bowls, to print microscopic images of cells on. As you might have already guessed, this did not happen, because the plates had broken straight through the middle during pre-baking (which is done to clear the glaze of impurities). This would be the first of some bad omens that would convince me not to try this technique. 
So my new plan, which I did execute, was to glaze my bowls from last week, and try some pottery again. With the glazing I tried to recreate the appalling (appalling: causing shock or dismay; horrific) combinations of red and orange, and with the pottery I set myself the goal to go a bit bigger and thinner, since my earlier products had been no larger than minuscule, while nearly indestructible. 


The bowls again had this droopy effect that I am growing quite fond of, and none had cracked during the first baking. However they look much more blue then the first load, before they were glazed. I thought I had added the same or less coloring then the first time, but I am now starting to doubt my memory.. 


So I made two vases, still not very big, but a lot more refined than the first that I made. I tried to maintain symmetry more, and make the walls thinner. I am starting to get requests from friends, hinting that a vase might be a nice birthday present, so apparently I am doing something right. I also made a very heavy cup with a small surprise 'fountain' on the inside. It made me happy so I left it like that. 

Monday, June 12, 2017

Barst, burst, broken


well, that is inconvenient indeed.. All my work from last week, all the glazed bowls, had cracked and in some cases even broken completely in the oven.. This probably happened because the clay, which is already weakened by the colour pigments mixed in, could not withstand the stress from the craquelure glazing.. Since all of my montages contained at least one bowl with this glazing, none had survived... But setbacks mean you get to try again!


Overall I really like how the glazing turned out, especially the combination of orange, white, and red is very insetting. Also the way in which the red can 'leak' into the bowls creates gruesome effects, something to keep in mind when glazing this next load of bowls. 
My 2D work luckily had survived the whole process, so I had at least those beauties to show for my effort. 


And then it was time to start again. 


Wednesday, May 31, 2017

Head spinning, hands shaking, pottery making

Lots of water, hands flopping against clay, spinning tables, slib everywhere. 
Today I tried my luck at pottery. 
After watching some YouTube videos, I was ready to try my luck at centering, and making something hollow. 
Moving a lump of clay to the center of a spinning wooden plate by repetitively turning it into a vertical tube and back into a sphere-orb shape, is about the most difficult thing I experienced so far during this expedition. It comes with extreme precision. You have to place your hand exactly right, put in the right force at the right place, not make it too high or too flat, and at all times keep the whole thing symmetrical. If done right, you can put your hands against the clay and you wont feel the clay is moving in circles in your hands... Get the picture? 


So after spending about twenty minutes trying to get my blob in the right spot, and eventually asking Challing (is that how to spell his name..?) to do it for me, which takes him less then 5 minutes.., I could make a hole in the blob. However this is not a push-your-thumb-in-till-you-hit-the-bottom kind of hole, it is an act of pushing your finger down, trying to stay in the center, and keeping your hollow blob stable with the other hand. Also included: guessing how close you are to the wooden plate. 
So, when you have this hollow thing, and after you tried to make the hole cylindrical instead of conical, you can start by making your work higher by pushing on the in- and outside of the clay, slowly moving upwards with your hand. This way you force the clay to go upwards. After each round of moving upwards, you have to flatten the top and make the whole thing narrower. Repeat a few times until required height is reached. 
At this point, the ten minutes of fun start before you make a mistake and everything collapses! YAY!! 

No just kidding, this part is actually the nice part, here you can give your hollow tube some wider and tighter parts, give it a foot or a neck, whatever you want. However there is the danger of making you thing too thin, or too thick at the top, or asymmetrical, and the whole thing starts to wobble, and parts break off (if you are lucky) or the whole thing collapses (if you are unlucky). The breaking off of parts is also the main reason most of the things I made are so small.. The danger lies mostly in wanting too much, when you have something pretty nice, but you just want to make it a little thinner, or a higher, or just make this part look a little more smooth. That is usually when gravity kicks in and the whole thing becomes a slimy blob again. 

So even though the whole process is very difficult, and tricky, and time consuming, and wet, I managed to create these three miniature pots, which I am very very proud of. 


Thursday, May 25, 2017

Gazing and glazing

This week I could finally gaze upon the shades of blue that had looked like green and red last week.


What I did this week, was again applying multiple layers of white powder onto my work, which would turn into shiny layers of joy after baking. Yes, I am talking about glazing! This time I also worked with pre-fab colored glazings, in the colors red, yellow, and orange. (Also, German Jackson Pollock, who was sitting across from me, might have added some splashes of blue hither and thither)

Because the effect of applied unbaked glazing powder is close to boring, I would rather enjoy you with the pictures of my work from two weeks ago, which I painted with pigments and were then spray-glazed by Erik. These came out of the oven in the afternoon, and the glazing shine definitely added some character to the objects. 


I think the effect overall looks unsettling, but also one might appreciate the beauty of the different colors and patterns, which is exactly the contradiction that I find in the lab. 

Also, I'm not certain if you can see it clearly, but I learned a lesson here; too much colour pigment leads to openings in the glazing where you can still see the pigment powder peeking through. 

Tuesday, May 23, 2017

Inspiration for tomorrow


For those curious, these are white blood cells (blue) with two stainings (red and yellow), so no cancer cells for once, just someone with a healthy immune system.

Thursday, May 18, 2017

Spilled blood at the lab


Bluetiful

When I arrived at the AKI yesterday, things looked remarkably like they had looked the week before. The room with the stoves was still closed, but my painted work from last week, which Erik would powder-glaze, was still exactly where I'd put it, and it looked a lot like it had when I put it there.
Hmm...

Erik was ill, was the logical explanation given to me moments later. And he had been so for three days now. This was of course not what I was expecting, as I had hoped to talk to him this week, to discuss what to do in the next weeks. But that had to wait, and I had to wait. But I was at the AKI, so what better to do while waiting than letting out some creativity?

I decided to continue with the casting slib, but try with different pigments, and see how I could incorporate colour into the little bowls that I had made before. Armed with a mixer and a gas-mask, I got to work.


(Yes this is apparently THE way to mix pigments into casting slib)


I tried to make three tints of blue, but looking at the slib mixture, one of the blues looked green, and the other red. I hope they will all turn out blue-ish though. I picked blue because that is the colour I see most through the microscope, and the colour effects of the nucleus are often quite surprisingly beautiful. I tried to combine the different colours in the bowl-shaped molds.


(Sorry about the compiled images, but Blogger was being very annoying with their limited amount of picture placement options..)


What I was trying to do, was to mix the colours more and more, by pouring them into a mold, letting it dry, pouring the remainder out into a cup, and pouring this back into a new mold. This gave increasingly mixed colours, as you can see above, where the first picture is the first time I used the slibs, and the bottom row is the second usage. I did not do this with all mixed slibs though, because I also tried to pour the mixed clay onto the gypsum plate I talked about earlier.

(This makes me feel a little bit as if I am looking at Jupiter)

I tried this three times over, making about two or three new bowls, and one pouring each round. And afterwards I tried to mount the bowls together in such a way that their edges align (last time I mounted them such that the bottoms align). This turned out to be a bit more difficult than I had expected, because when the bowls lie upside-down, it is very difficult to press the connecting parts together. I was so taken by this task that I forgot to take pictures of the bowls, so Ill show you how they turned out next week. I will spoil to you that the first ones looked magnificent on the inside, but plain on the outside, and that this slowly turned around when the slib was used more often. I hope this keeps you curious.

What also managed to capture my attention was that finally part of my work from last week could be taken out of the oven! The mat glazing had turned out like a milky-white layer when it was applied abundantly, and gave more colour but no shine when applied in normal amounts. The shine glazing was as expected, shiny, but less transparant then I had hoped. In some cases it was even hard to distinguish between shine and mat glazing, but that is probably mostly due to my lack of experience. What surprised me most was the craquelure glazing, which had not cracked, probably because my pieces of art were too small to build up enough tension, or because the oven had not reached top temperature for the craquelure to crack, but it had formed a lot of bubbles. This, though, was not what surprised me so much. What did was the colour explosion that was taking place under the glazing. Red had become bright red (instead of the pale pink it was under the other glazings) and black was truly pitch black. This wild bubbly -or in some cases chipped- look, and the bright colours made this glazing my instant favorite.

(The middle red blood cell makes me think of a doughnut)


This last image is one of the unglazed ones next to one that is shine-glazed, because I almost had forgotten how pale they looked when they came out of the oven the first time.

So for next week, I hope Erik is back by then, so we can discuss how to continue, next to that I hope I can experiment a little more with glazing next week. Additionally, I hope I can finally see the other half of my work from last week, and I am curious to see if the blue tints that now looked green and red will stay that way or -hopefully- not.

Saturday, May 13, 2017

You know what is frustrating about working with clay?

Well, when you are drawing, you immediately know what your product looks like, and you can change it easily. The 'black box' is not at all present. When the material you use becomes more difficult, the black box also increases, you have less control. This also becomes visible when working with pressing techniques, where your drawing is mirrored, no line can be undone, and you can only hope that you applied the paint correctly. Additionally, here there is the few moments between laying your etch or lino on the paper, and taking it off again after pressing. How the pressing goes is up to the gods of chance.
And then, there is clay, with a black box of a week. I create something, and while it is still wet, I leave it for seven days. A whole week where I have no idea what happens to my work. Is it breaking? Is it cracking? How do the colour and glazing turn out? Would there be any air pockets in my work? You don't know, no one knows until my creations exit the 1060 degree oven.
I can not learn from my actions until seven days later.
And I noticed that this makes me very hesitant to try things, because what if it does not work out? Then I have wasted 10% of my personal pursuit on a failed experiment. It would feel like such a waste.

Creativity springs where one is not afraid to fail, which makes one careless in his trials. So how can I set this fear of failure, of wasting time, aside, to let my creativity run freely? I do not know, and it bothers me truly that I don't..

Friday, May 12, 2017

shining things up

So I will move straight on to what I did two days ago, when I was at the AKI again.

My collection of bowls and pourings had survived the baking process, which surprised me quite a lot, after the warnings from Erik about connecting things that shrink individually. I think it even surprised Erik a little. I was also pleasantly surprised that the in the poured cells, the streams of slib could still be seen. 


This week I would start with the glazing of my work, I got shine, matt, and craquelure glazings, which I tried in different layers and different combinations on my work. The glazing itself is a powder that is dissolved in water. When applied to the clay (which was baked bisque, in which state it absorbs most water), the clay absorbed the water and only a powder layer remained on the surface. When this powder is heated in the oven, it melts into a smooth glass-like layer that sticks to the clay. This melting is also the reason that the products were placed on a thin layer of oven sand, so that if the glazing leaks off the clay, it does not stick to the oven plate but to the sand. 
Because of the powder residue that is left on the work, the visual results of this process are not that exciting, as everything became white, basically. 


What was more daring was the colour glazing that I applied later on the 'cells' that were not covered with transparent glazing. I tried a combination of black, green, red, and blue again, and painted this glazing as watercolor on the bakings. You can see that in the beginning I was still quite hesitant to use the watercolor aspect of the glazing, mostly applying it in thick layers on the clay. However later I became a little more creative with the colors. I did however choose not to paint the collection of bowls now, but wait to see how these paintings turned out first, because I think my hesitance came mostly from not knowing what the effect of my actions would be. 
Erik would apply a glazing powder for me, because these paintings cannot be covered with liquid glazing. In a week I will know how everything turned out, and will be a little bit wiser about how to use glazing. 


In the end, it's all about the people

It struck me that what might be the largest difference between the AKI and the UT, is not the environment, the tools, the ideas, or even th...